Bitwar HEIC Converter is an efficient and useful software that helps convert HEIC to JPG format. It doesn’t compress the file and keep the image quality before and after conversion. Users can choose the image quality that they want through the free HEIC converter. This tutorial will show users how to set the image quality before conversion.
Gentle reminder: Please install the software from our official website: https://www.deliheic.com/
Before we start, you can upload the HEIC images into your computer by connecting with your phone.
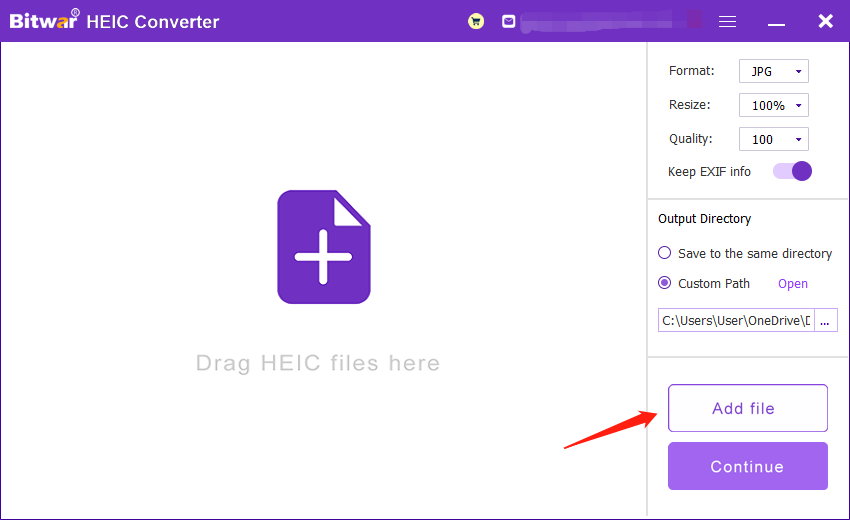
Step 1. Launch the software and click “Add File” or drag all the images into the software
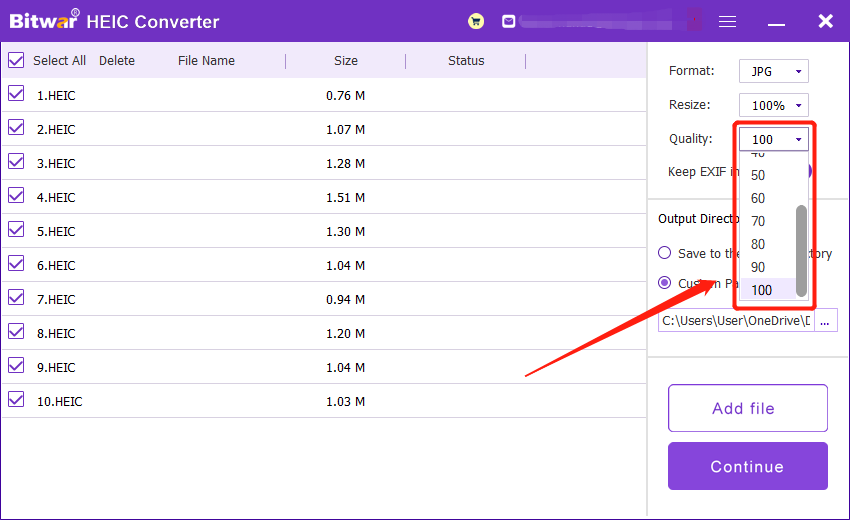
Step 2. At the right side of the interface, you can choose the quality at the Quality menu. (Kind Reminder: If you wish to keep the original quality of the images, we recommend you to choose 100.)
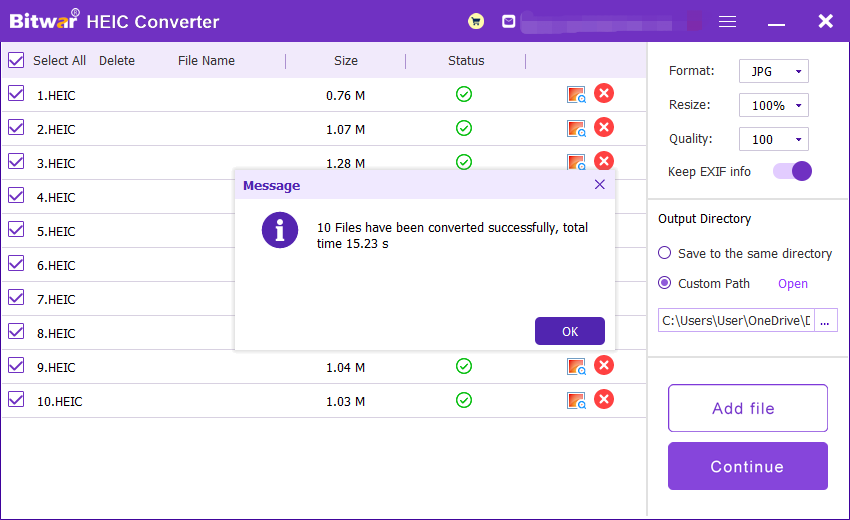
Step 3. Then, click “Convert” and wait for a while for the conversion to complete.
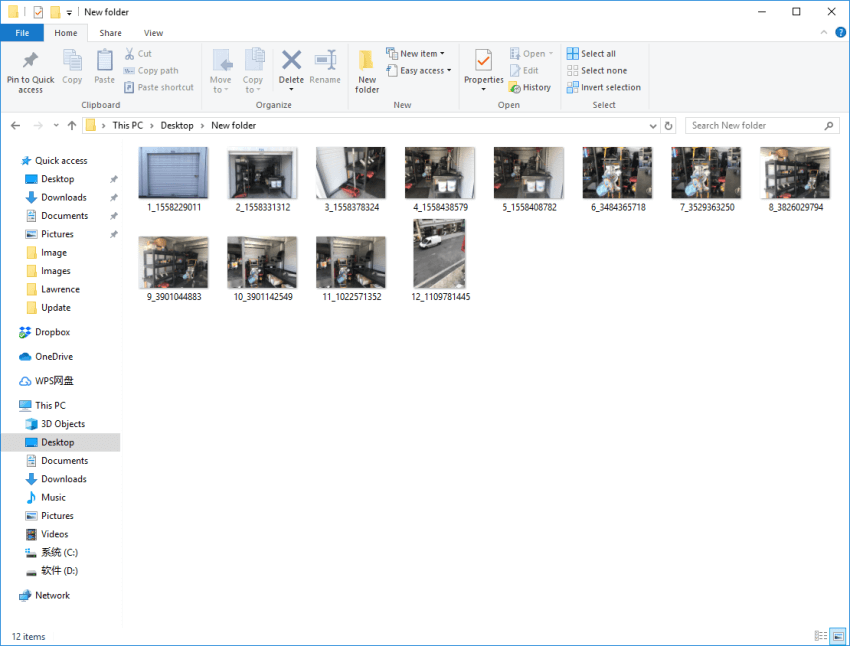
Step 4. You can open and view the formatted images at the new directory folder!
We all always hope to keep the best quality of our images before and after conversion. So we hope the tutorials above is clear and helpful to all of you. Please give us feedback or leave some comment after reading this article. If you still encounter problems or issues, please contact our customer service at any time!
Copyright © 2014 - Bitwarsoft All Rights Reserved. Contact | Privacy Policy | Terms & Conditions | OSJOY